Due to my open heart surgery scheduled for next week, I have suspended online ordering thru my demonstrator website.
Should you wish to order Paper Pumpkin, that is still an option for you to choose me as your demonstrator demoid=2041633 Gina Wrona.
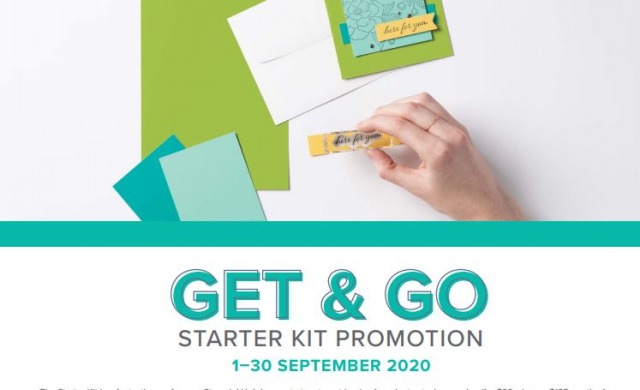
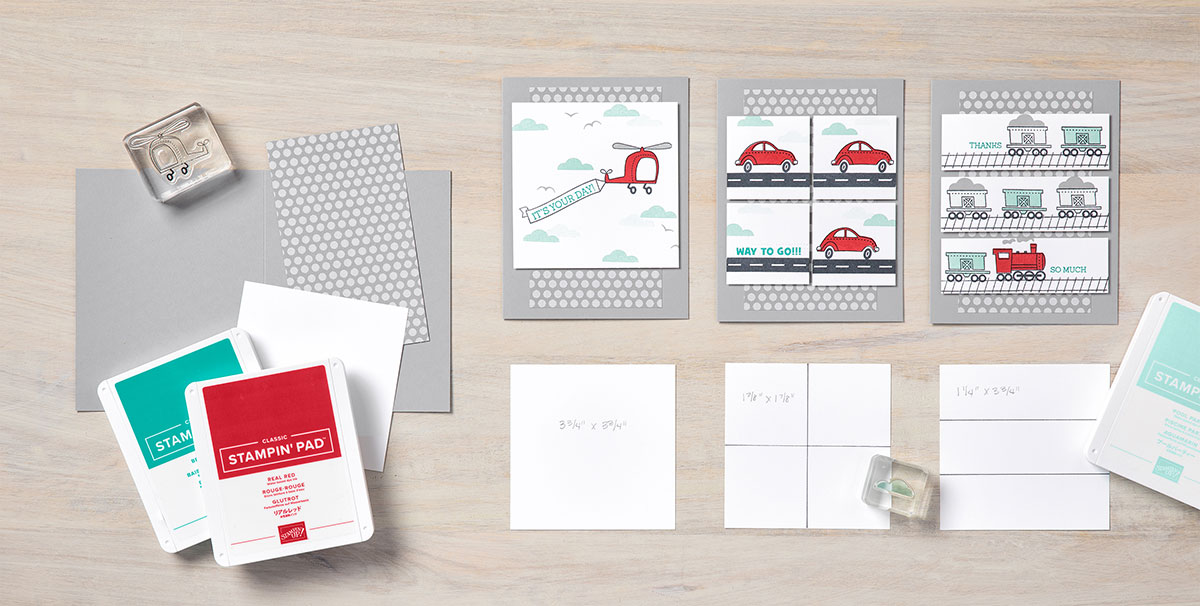
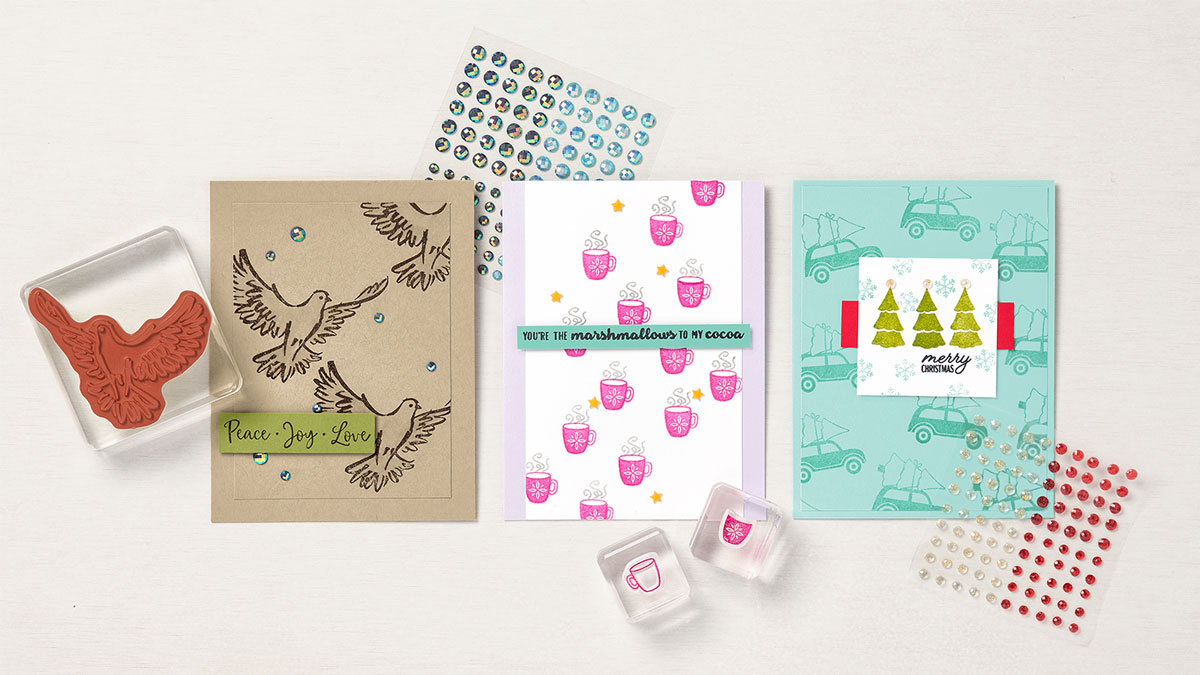 SIMPLE STAMPING, THREE WAYSWishing you had lots of cards on hand for every occasion, but not sure where to start? Designing clean, simple projects is the quickest way to reach your goal.If you want an even faster method for getting the job done—one that doesn’t involve coming up with your own card design—simply use one of the samples you see here as a basic template, substituting stamps, ink, and paper to suit your taste. When you follow the overall layout of the card, including image and sentiment placement, half of the work is done for you. At the end of your stamping session, you’ll have a stack of ready-to-send cards—finished in no time at all.Easy techniques you can duplicate from our samples include, filling in the stamped images with Wink of Stella, creating fun backgrounds by stamping multiple images on a layer, and tone-on-tone stamping. To illustrate this final technique, we stamped the car image in Pool Party ink on Pool Party Cardstock to create a subtle background. (Tip: On the top layer, stamp the center tree first for even spacing.)Whatever you do to create your simple cards, have a great time! And invite a friend over to stamp with you. The more stampers, the more fun!
|

Designer Paper Sale 15% for the month of October.
Click HERE for flyer of all the designer paper on sale .
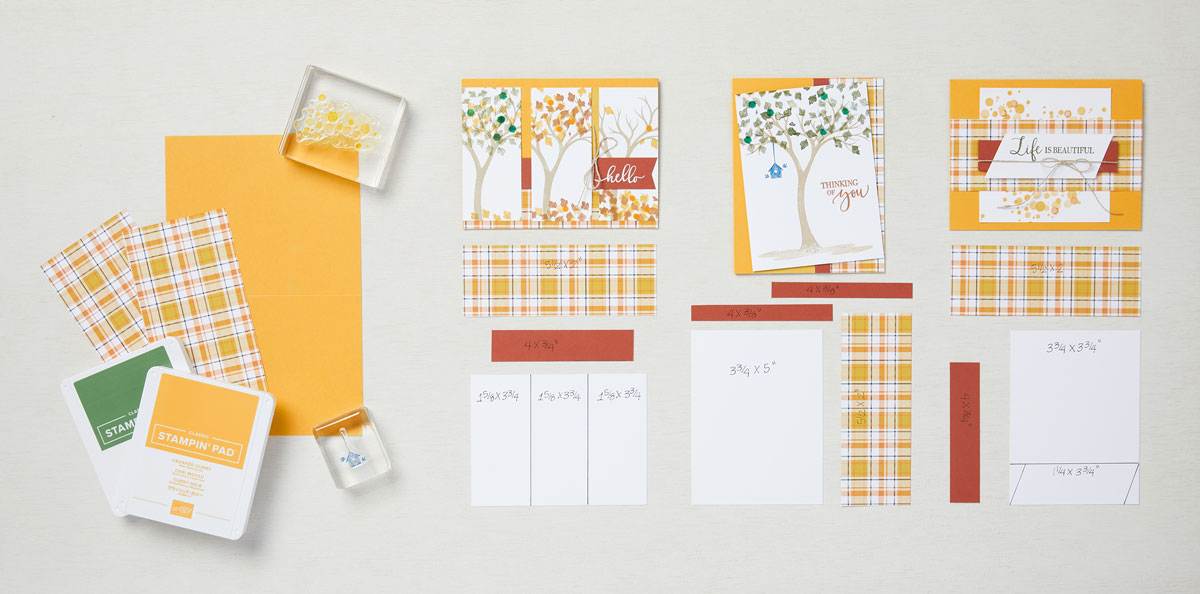 |
| FUN WITH PARTS & PIECES |
| Challenge: Make three lovely cards using the following supplies, but give them each a unique look. |
|
| Our concept artist accepted this challenge, and now look at all of the lovely cards: one for summer, one for autumn, and one all-occasion card! |
| We particularly wanted to draw your attention to the card with three 1-5/8" x 3-3/4" (4.1 x 9.5 cm) panels. The first depicts late summer/early autumn, the second shows a tree in full autumn glory, and the third panel illustrates a tree preparing to cozy up and hibernate for the winter. By changing the number and color of the leaves in each panel, our artist was able to suggest the seasonal progression—and create a fun build-up of leaves on the bottom of the card, which gets bigger with each panel. |
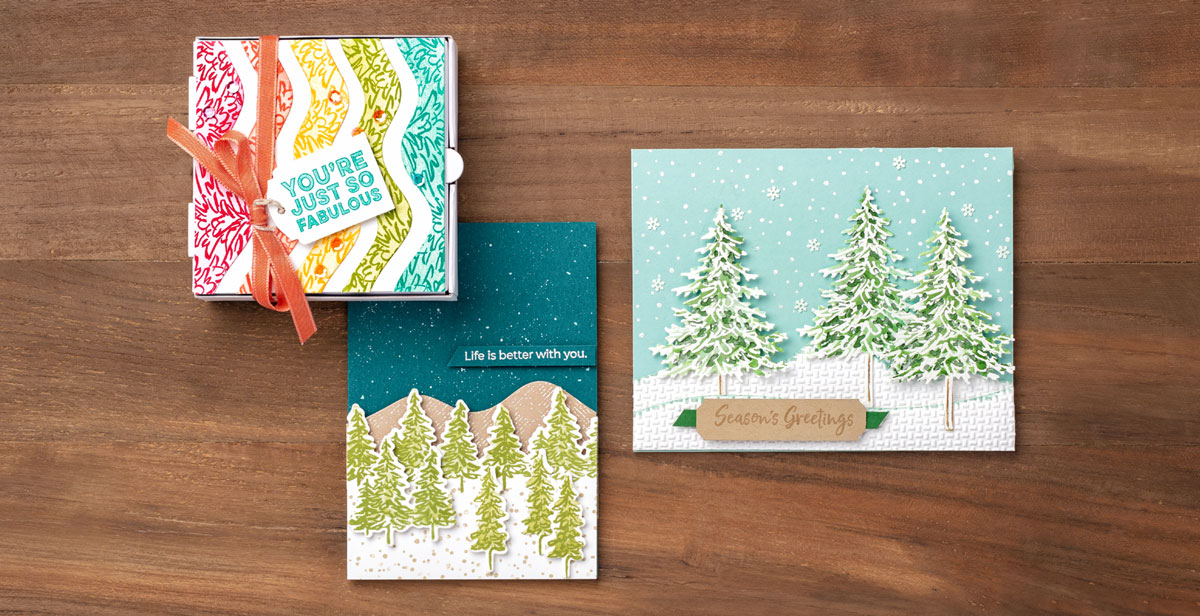 |
| IN THE PINES BUNDLE |
| With forest-inspired imagery, the In the Pines Bundle helps you create easy projects with a woodsy, nature theme. While lending itself to Christmas projects, the In the Pines Stamp Set also includes a multi-occasion “Thinking of you” greeting. Use its timeless natural elements all year for masculine projects and more. The Two-Step Stampin’ images combined with the Pine Woods Dies make this bundle a must-have for creating quick cards any day of the year. |
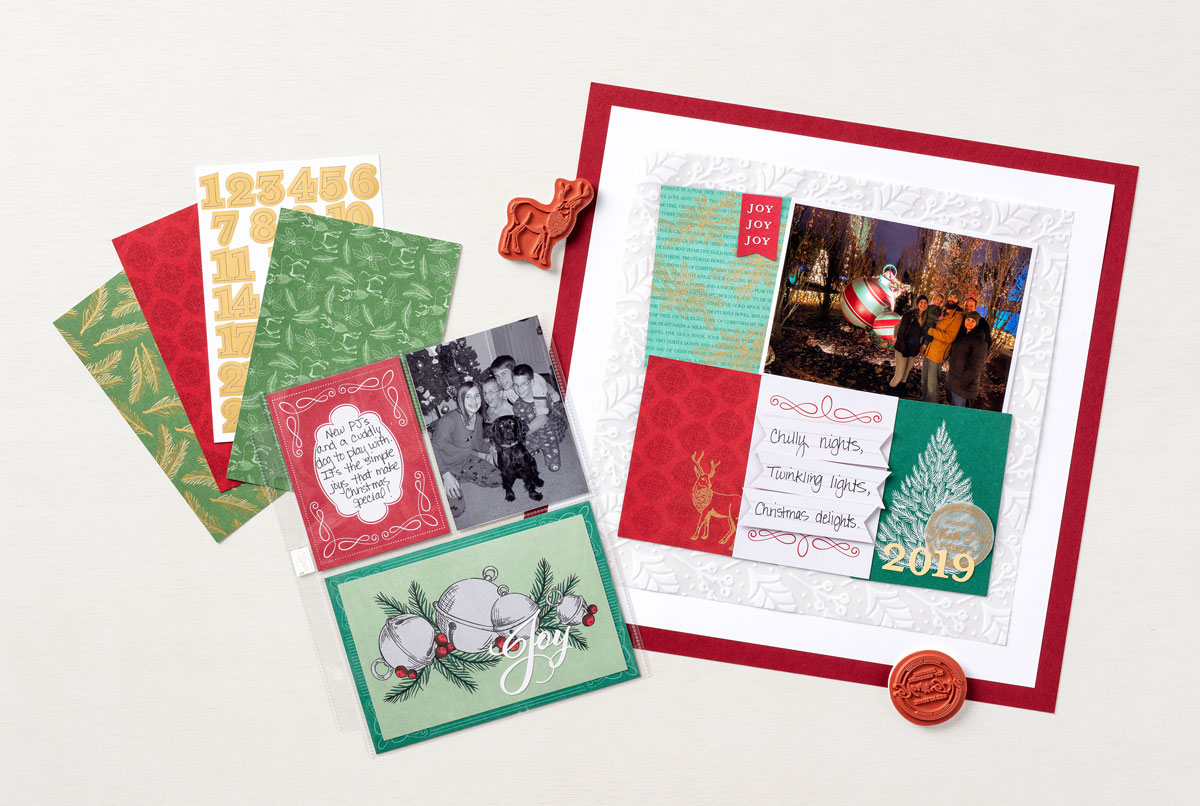 | ||
| CAPTURE MEMORIES WITH WONDER OF THE SEASON | ||
| Do you have shoeboxes filled with old Christmas photos that somehow never make it into a scrapbook? Let’s face it—when the celebration is all over, sometimes you just want to put your feet up and get comfy with a good book. You’ll put those Christmas photos in a scrapbook someday . . . right? | ||
| Or maybe you’d like to start planning now how you and your customers will preserve those merry 2020 Christmas memories. Either way, we’ve got you covered with the perfect memory preservation solution: the Wonder of the Season Memories & More Card Pack. | ||
| This gorgeous collection has 48 cards in two sizes, 12 specialty cards with gold foil, and eight sticker sheets. The double-sided cards are perfect for card fronts—or for scrapbooks. Simply tuck them into our Variety Pack 6" x 8" (15.2 x 20.3 cm) Photo Pocket Pages with your photographs—maybe add a little journaling—and your page is done. Scrapbooking does not get easier than that! | ||
| In our second sample, we show how you can use these beautifully designed cards to step up a traditional 12" x 12" (30.5 x 30.5 cm) scrapbook page. Arrange them artistically on the page with a favorite photo. If you prefer, get fancy with the addition of embossing and some banner shapes (as we did here). Even with a little extra stamping or a few embellishments—these gorgeous scrapbook pages are so easy to put together that you’ll still have time to get cozy with your book and rest after the Christmas fun subsides. | ||
|
| DONATING UNUSED CARDS | ||
| As a card maker, you probably have more cards lying around than you can use. Right? Be honest! We all have stacks of them, and we love them so much that we don’t want to throw them away. Or—we’re practical and throwing out perfectly good cards seems wasteful. Well, we have a solution for your “cards without homes”: You can donate them! | ||
| Many venues are grateful for free greeting cards—retirement and nursing homes, charity/goodwill shops, the Red Cross, military organizations, and more. Thank you cards are always welcome. And with Christmas being just around the corner, your unused Christmas cards will be received with special appreciation. | ||
| Just think! Donating cards allows you to spread joy and appreciation—and it helps you clear your space! Suddenly you’ll have room to make more! So contact a local venue today and see if they would like a dozen or more of your unused cards. Remember the envelopes, and leave a business card. You’re doing others a favor—and advertising your business at the same time. | ||
| Who knows? Card donation might become an important part of your demonstratorship’s outreach—to the degree that you begin making a “plus one” card for your “good causes” box. You may even want to get together with friends and customers and put together a box of cards that a charity can sell off for a good cause. Whatever you do, have fun donating your cards! | ||
|

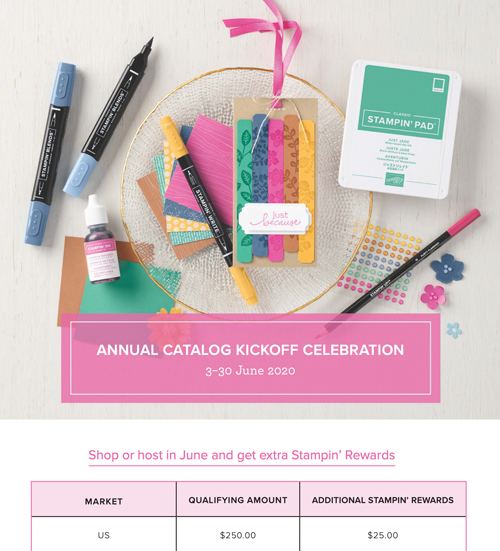
24 hour ONLY FLASH sale starting today
Wednesday Sept 23, 2020 at 12:01 am- 11:50 pm ( mountain time)
a select number of Cling and Photopolymer stamp sets
from the 2020/20201 Annual catalog
will be available for purchase at 15 % discount.

Click HERE
for the list of stamp sets that will be available at this 15% discount .
 |
| JUST CASE IT |
| To CASE (Copy and Share Everything) is something nearly every experienced papercrafter does on a regular basis. You see a card in a catalog, for instance, focus on something you like about it, then re-create it with your own spin. |
| You can add layers or simplify the project, but the main point is to enjoy being inspired by the work of others. Our minds start working when we study and learn from a project someone else has made. |
| So pick up the catalog and look through the pages until you find something that really makes you want to pull out all your crafting supplies and start working. Copy the project, then use the following ideas to make it your own: |
|
| Our talented artist CASEd a card from the August–December 2020 Mini Catalog to create samples for this article. Why not see what you can find in this great publication, then CASE a festive card? Whatever you do, have a fabulous time! |
 |
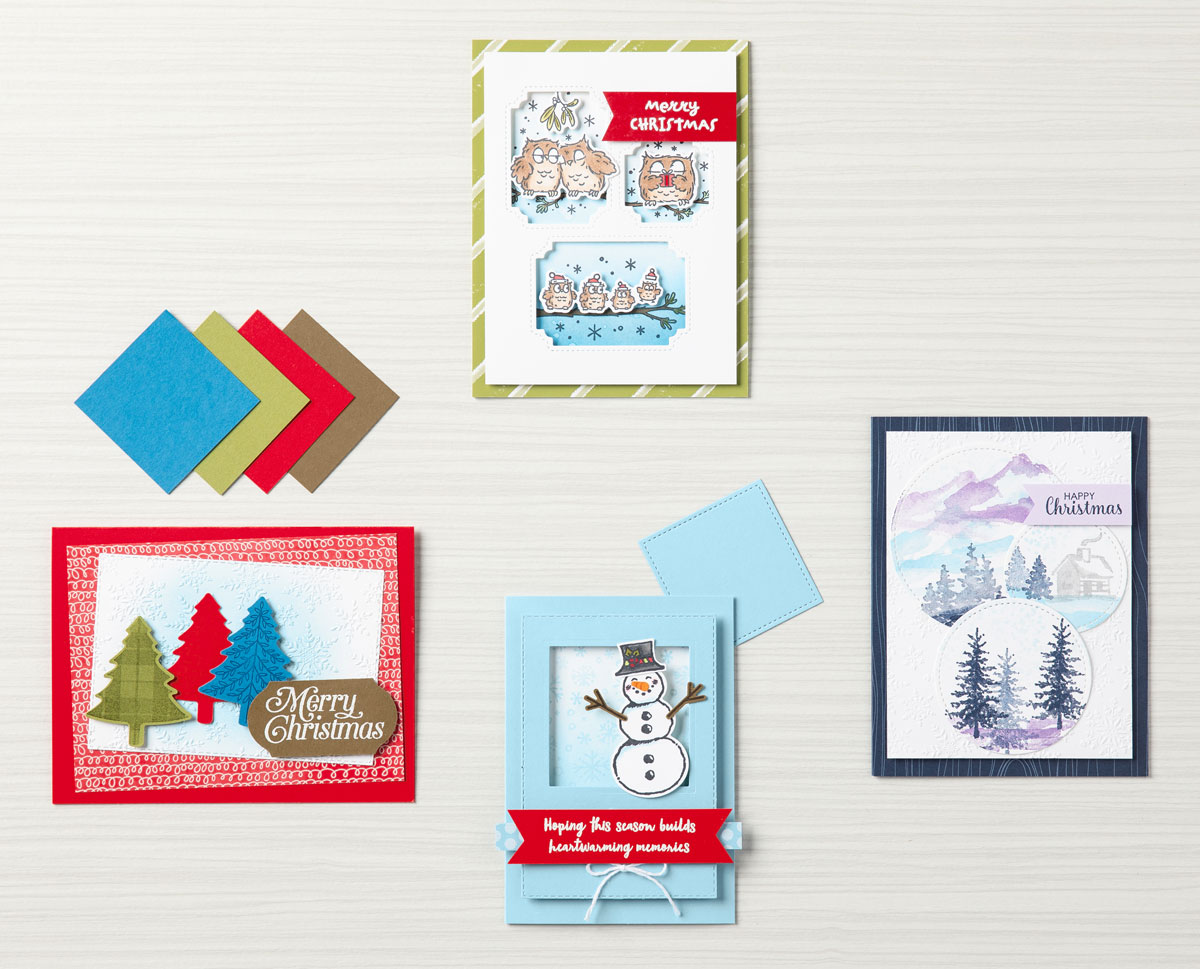
| POINSETTIA PETALS STEP-BY-STEP |
| When creating projects, it’s important to consider the abilities of every customer—from beginner to avid crafters. By using similar products and the same layout, creating a card for every crafter to replicate is simple (and fun!). |
| CASUAL To begin creating, stamp the sprig images on the card front in Cinnamon Cider ink. Stamp the flower in Real Red ink and the leaves in Shaded Spruce ink on Whisper White Cardstock. Tip: To create depth, stamp off the Two-Step Stamping flower and leaf dimensional images. Die cut the stamped images and adhere them to the card front. Stamp the sentiment in Cinnamon Cider ink on a Whisper White Cardstock label, adhere the label to the card using Stampin’ Dimensionals, and you have a fabulously festive card in just minutes! |
| AVID Step up the second card by adhering Designer Series Paper to the front. Brighten the poinsettia and leaves using Cinnamon Cider, Poppy Parade, Real Red, and Shaded Spruce Stampin’ Blends. We also added a sprig cut from Copper Foil Sheets using the Poinsettia Dies. Tip: Fold the ribbon in half lengthwise before cutting the notches on each end. |
| STEPPED UP AVID For our fanciest card, we adhered additional flowers and leaves, cut the label using the Tasteful Labels Dies, and added more Flowers for Every Season Designer Series Paper to the card front. We also took the artistry to an entirely new level by creating more light and dark contrast and expanding the color palette with Mint Macaron and Petal Pink Stampin’ Blends. |

 |
| A Card for Every Crafter |
| When designing samples for social media, a workshop, or class, it’s important to consider the abilities of every customer—from beginner to avid crafters. Don’t worry, it’s easy! By using similar products and the same layout, creating a card for every crafter to replicate is simple (and fun!). |
|
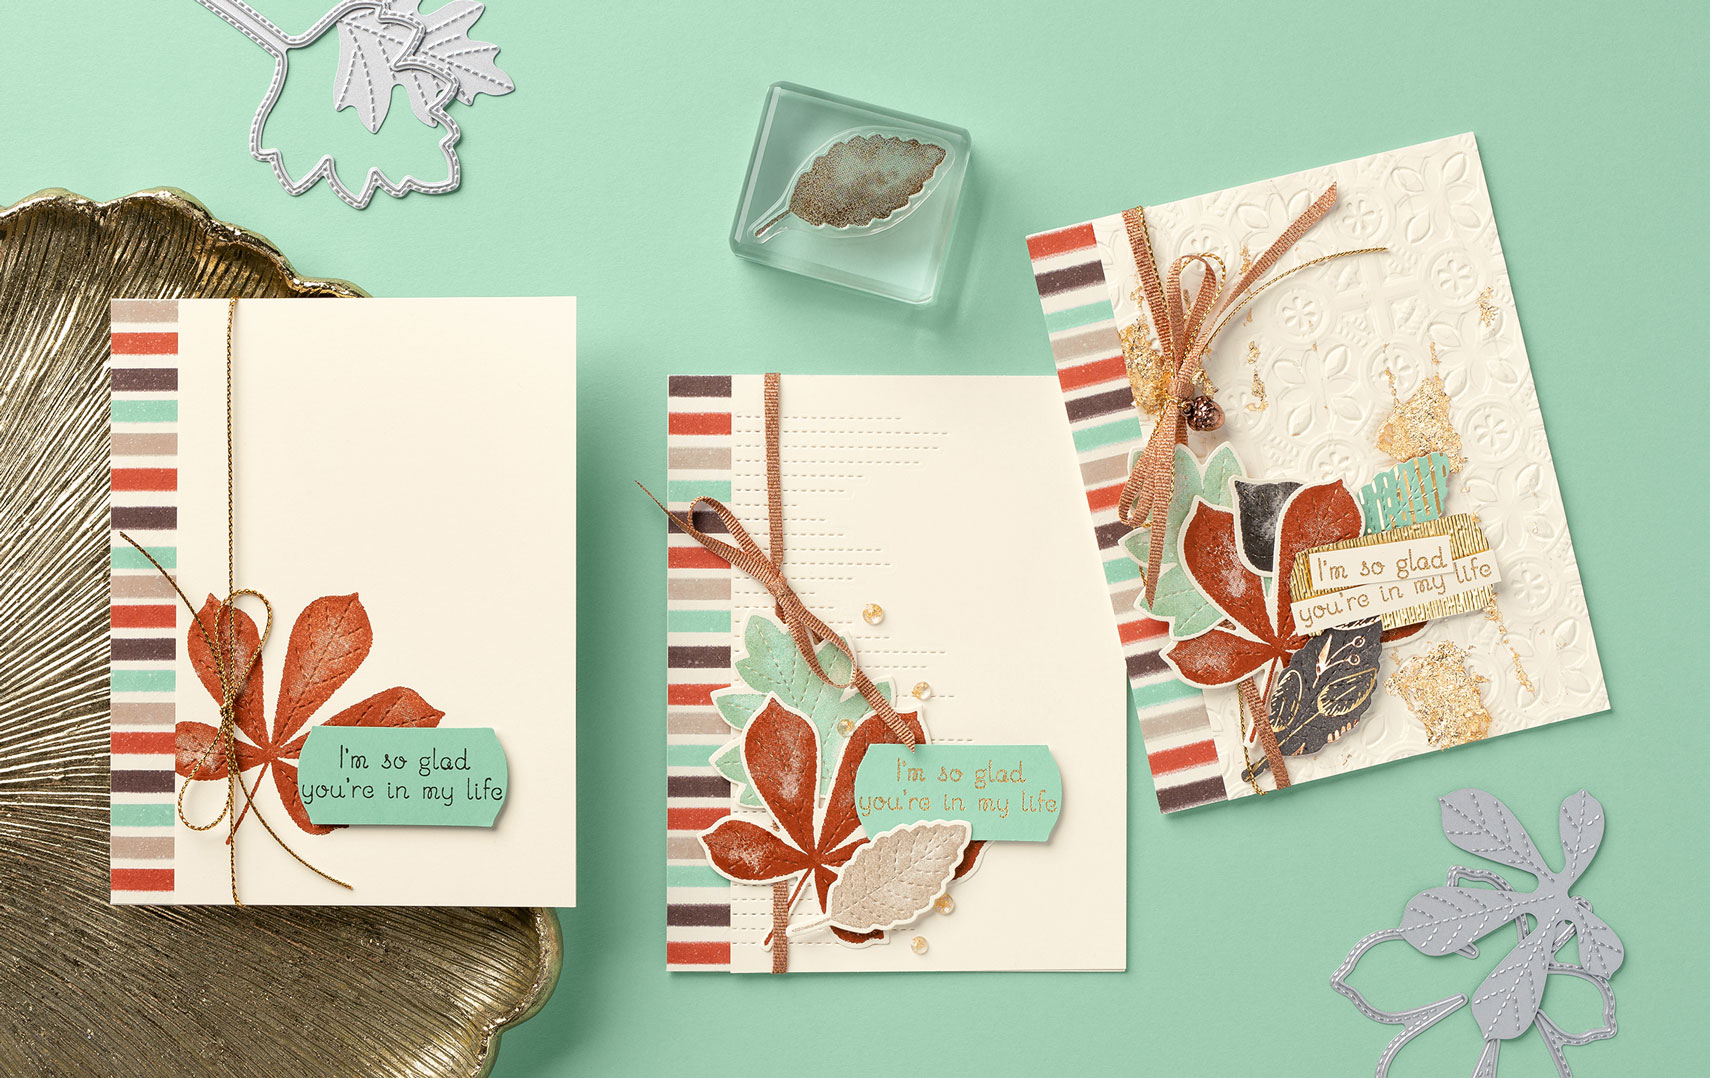
Beginner and Casual Crafter Card Stamp a leaf in Cajun Craze ink on the front of a Very Vanilla card base and use the dies to add details. Adhere a piece of striped Gilded Autumn Designer Series Paper to the left edge of the card. Stamp a sentiment in Early Espresso ink on Mint Macaron Cardstock, and punch it out using the Label Me Fancy Punch. Adhere the label, wrap ribbon around the card, and tie a bow! |
|
Avid Crafter Card Cut stitched lines into the Very Vanilla Cardstock. Stamp leaves in Cajun Craze, Crumb Cake, and Mint Macaron ink on a separate piece of Very Vanilla Cardstock and die cut them using the Stitched Leaves Dies. Use VersaMark ink to stamp the label, sprinkle with Gold Stampin’ Emboss Powder, and arrange the pieces onto the card. Finish with Wonderful Gems! |
|
Stepped Up Avid Crafter Card Emboss the Very Vanilla Cardstock with the Tin Tile 3D Embossing Folder before adding gold foil accents and other layers. Before tying ribbon around the card, add an Acorn Trinket. Replace Crumb Cake ink with Early Espresso ink when stamping leaves, and punch a label from a Gold Foil Sheet embossed with the Subtle 3D Embossing Folder. Split up the sentiment, then arrange and adhere the pieces! |

 |
| Work with What You’ve Got |
| If you’re looking for a simple way to add variety to your projects, start by sifting through the supplies you already have! With just a few sheets of cardstock and your trusty Paper Trimmer, you can easily create three unique designs to highlight stamps of every size from your favorite set. |
| For all of the cards above, we started with: |
|
|
Helicopter Card No trimming needed! Stamp on the Whisper White Cardstock, use Stampin’ Seal to adhere the Designer Series Paper to the Smoky Slate card base, then attach the stamped cardstock using Stampin’ Dimensionals. |
|
Car Card Cut the Whisper White Cardstock into four squares measuring 1-7/8" x 1-7/8" (4.8 x 4.8 cm) and stamp. Attach the Designer Series Paper to the Smoky Slate card base with Stampin’ Seal, then adhere the squares to the Designer Series Paper using Stampin’ Dimensionals. |
|
Train Card Trim the Whisper White Cardstock into three strips measuring 3-3/4" x 1-1/4" (9.5 x 3.2 cm) and stamp. Attach the Designer Series Paper to the Smoky Slate cardstock with Stampin’ Seal, then adhere the stamped strips to the Designer Series Paper using Dimensionals. |